I’m sure you have already heard the notion of dual-booting
Ubuntu with Windows. Many Ubuntu users who have to work on both
platforms, sometimes require to have more than one Operating System
installed inside the same machine. But that is for PC and Laptops,
what about the Android devices? No worries, if you have an updated
Android smart device, you can install the Ubuntu Touch alongside
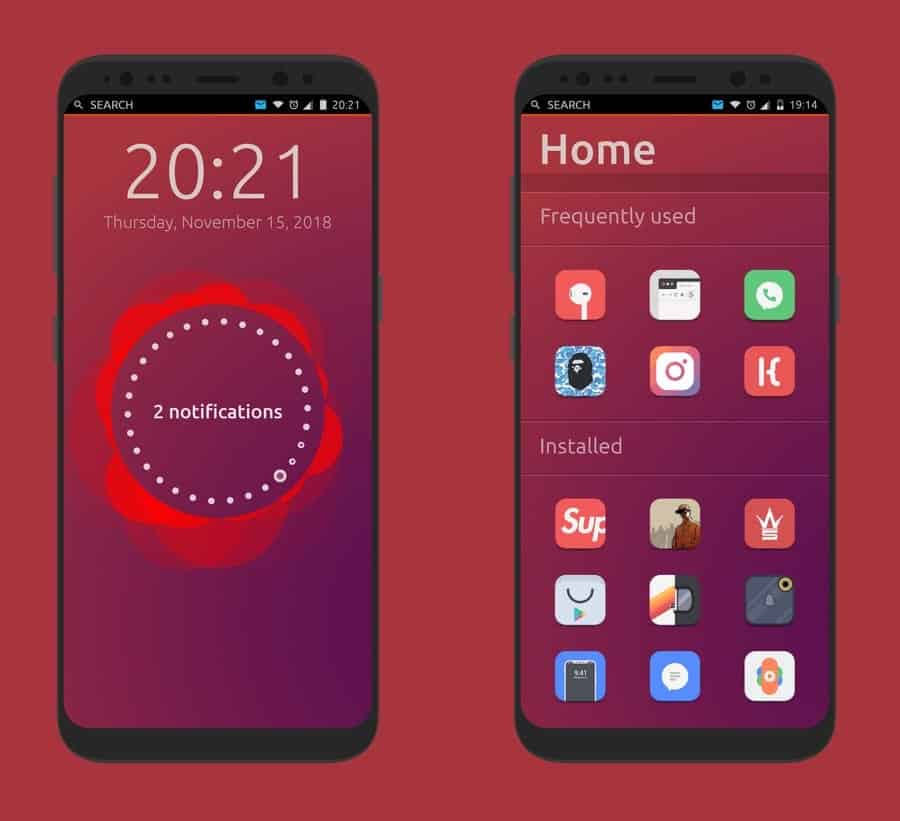
the Android operating system. Ubuntu Touch is the adapted variant
of the Ubuntu operating system for Android smartphones.
Ubuntu Touch on Android
Device
We all know that Android devices are originally build based on
the Linux Kernel. So, it won’t be though to install the Ubuntu
Touch on the mid to high range Android devices. There is a list
available on the UBports official website, they have enlisted
all the Android devices that are capable
of installing the Ubuntu Touch OS. You can check whether your
Android smart device is listed or not. In this post, we are going
to see how to install the Ubuntu Touch OS on Android devices and
use it as a dual boot alongside the Android operating
system.[1]
Step 1: Download the UBports
Installer to Grab the Ubuntu Touch
There is an installer file developed by the UBports community is
available on GitHub, that can be installed on your
Ubuntu desktop or Windows or, even Macbook devices. The UBports
installer will be used for flashing the Android devices with Ubuntu
Touch. You have to enable the USB developer mood from your android
device, then connect the phone with your computer through the USB
cable. If your device can’t get connected with the UBports, you may
need to enable the Android developer option under the Settings
> Developer options. [2]
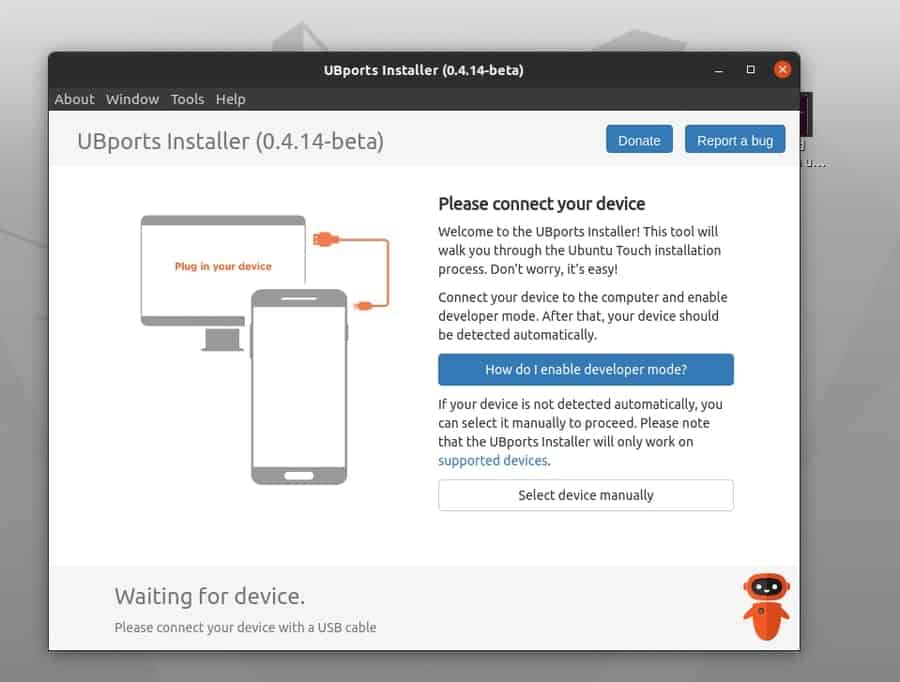
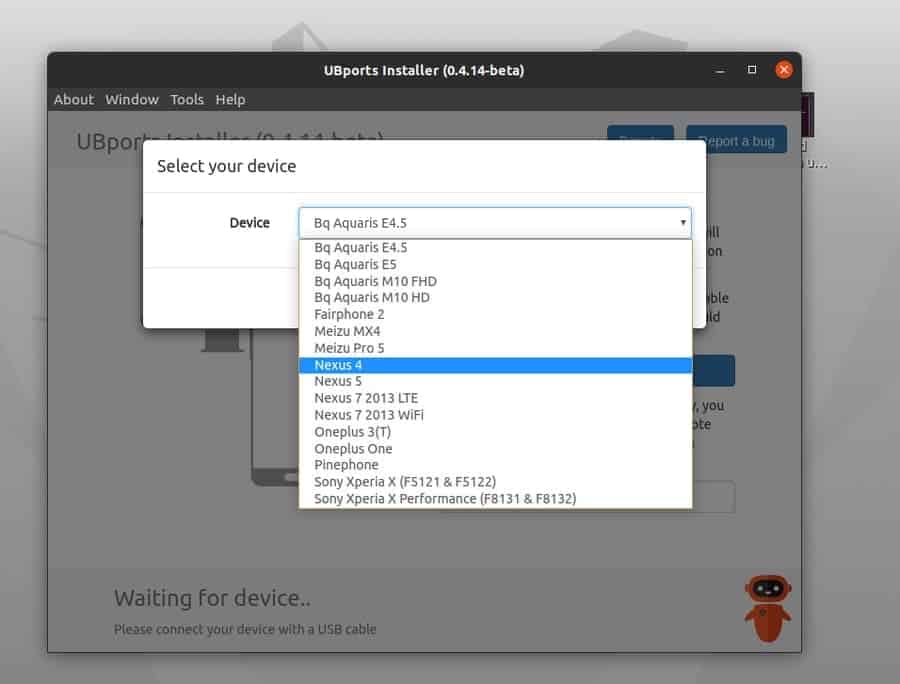
Once you have connected the USB cable, the UBports would
automatically recognize your device. If it can’t find your device,
you can manually select the name and model of your Android device
from the UBports dropdown menu.
Some Android devices might ask for the root permission to
initialize the flashing process. In that case, you need to
root your Android device[3] to get the root
privileges. Be careful and mindful while you root your Android
device. You may lose the warranty support of your Android by
rooting the device. Also, rooting with the wrong image file can
brick your Android, so root your phone at your own risk with proper
knowledge.
Step 2: Getting Ready to Install
the Ubuntu Touch
After getting your Android phone connected with the UBports, now
you can select which Ubuntu version you want to install inside your
device. You will find all the stable versions of Ubuntu Touch that
are available to be installed inside your Android device. You can
also choose whether you want to wipe your device’s memory and
storage or not.
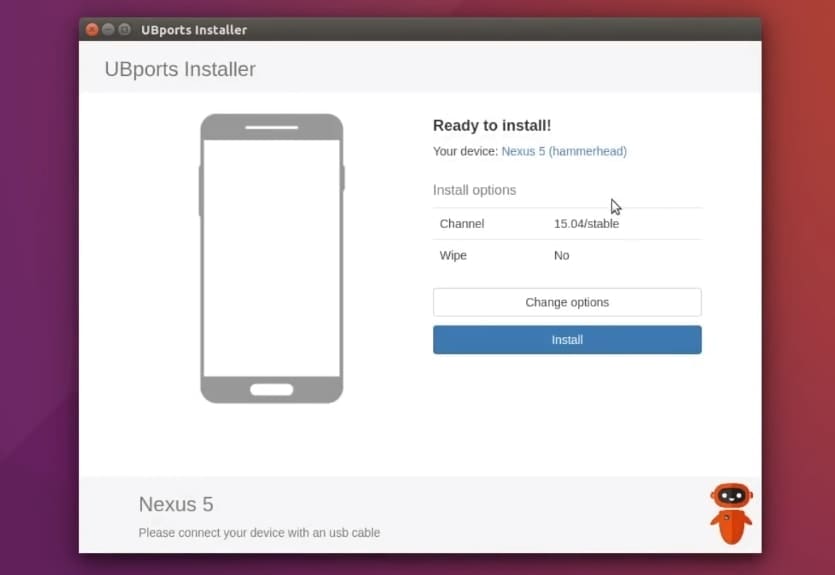
After choosing the Ubuntu version and other settings, you may
now proceed by clicking the Install button. This will initialize
the process of installing the Ubuntu Touch OS. After you see the
process is started, you have to press the Power button and the
Volume Up/Down button at a time to enter into the Android recovery
mood. There you will see Ubuntu Touch is being injected inside your
Android device.
Step 3: Get Introduced with Ubuntu
Touch Software Store
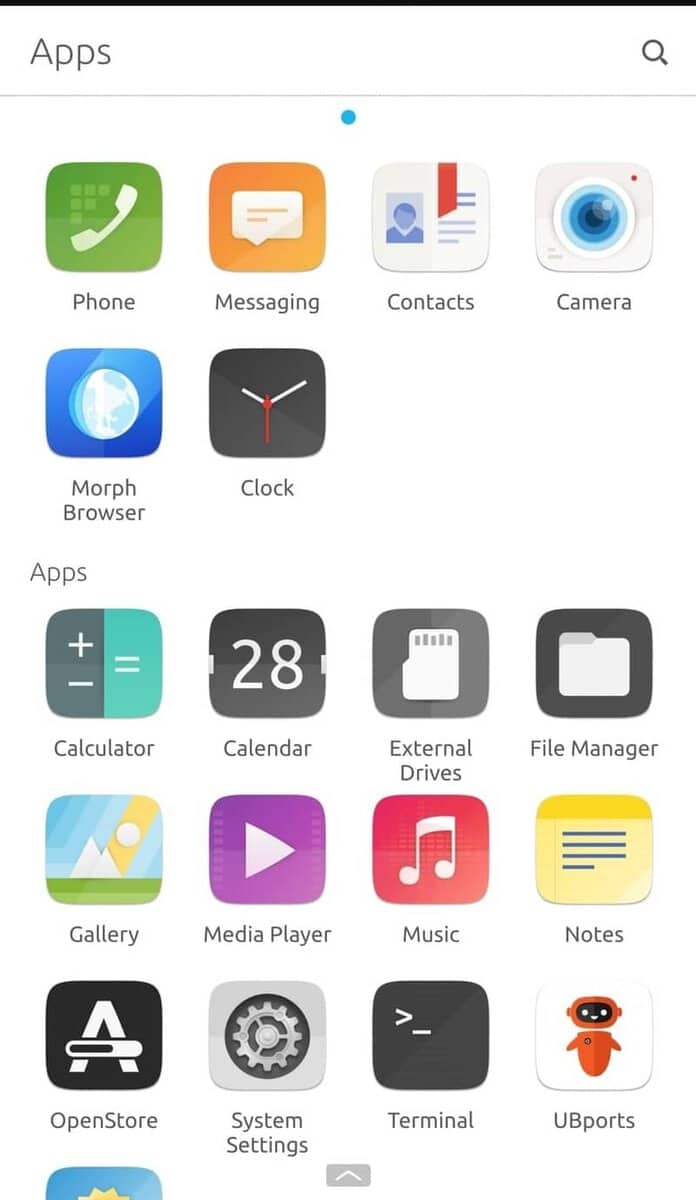
You might be thinking if you get the Ubuntu Touch installed on
your Android device, will you get all the necessary apps that you
need in your day to day use? Well, the answer is yes! Ubuntu Touch
has a huge and vast AppStore[4]
for your mobile devices. In the software store, you will find
almost every software that you might need to install inside your
Ubuntu Touch.
Step 4: Dual Booting Ubuntu Touch
with Android
On Android, the normal booting configurations are stored inside
the system recovery directory. To enable the dual boot option, you
need to edit the booting bash file. Here I’m going to download a
dual-booting bash file for my Android device. You can use any of
your favorite bash editors[5]
to enable dual-booting.
Keep your Android device connected with your computer, leave the
settings of USB debugging as it was before. Now, open the terminal
from your Ubuntu Linux machine and use the following bash commands
to update your booting options.
Before you start editing your booting scripts, make sure you
have downloaded the correct dual boot bash file for your device.
Replacing the wrong boot script would damage your device. Here, I
am using the Nexus 4 Android device, so I’m going to download the boot bash file[6] for my device. You have
to find the booting script file for your device.
chmod +x dualboot.sh
dualboot.sh update
dualboot.sh full
dualboot.sh channel $CHANNEL
dualboot.sh channel $CHANNEL
If you want to remove or delete the Ubuntu Touch from your
Android device, you can use the dual boot application settings that
you have just installed inside your device to wipe the Ubuntu
Touch.
Final Thoughts
You may ask, why would you install the Ubuntu Touch inside your
Android while you already have the Android system installed inside
the device. The answer is very clear, installing a new Operating
System to any device is not obligatory, rather it’s
freedom. In this post, I have tried to clarify the concept of
installing the Ubuntu Touch inside an Android device with a brief
explanation.
If you find this post useful and handy, please share this post
on your social media. You can also ask anything related to this
post and write down your opinions in the comment section.
References
- ^
all the Android devices
(devices.ubuntu-touch.io) - ^
GitHub
(github.com) - ^
The 15
Best Android Root Apps To Enhance Your Device’s Performance
(www.ubuntupit.com) - ^
AppStore
(ubuntu-touch.io) - ^
bash
editors (www.ubuntupit.com) - ^
download
the boot bash file (github.com)
Read more https://www.ubuntupit.com/how-to-install-ubuntu-touch-on-android-device-an-easy-tutorial-for-newbie/